Steps to Install a BMX Brake
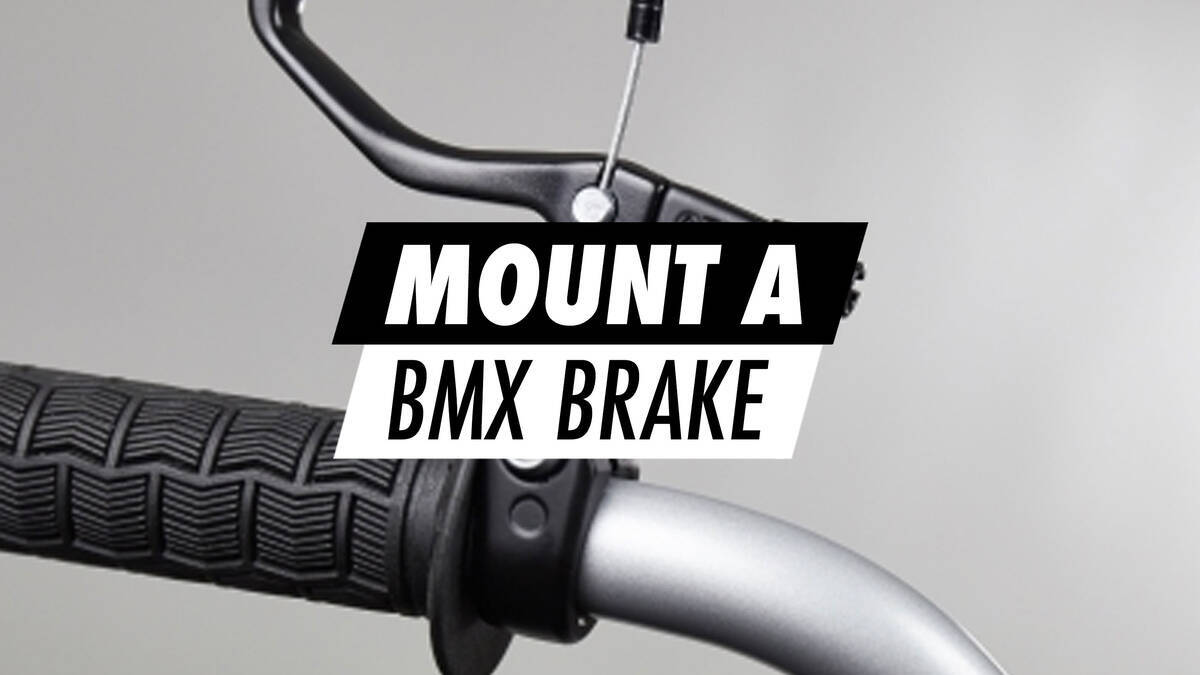
This guide will take you through the process of installing a BMX brake on your BMX bike. Follow both the instructions and images attentively.
1. Begin by inserting the long cable into the brake lever.
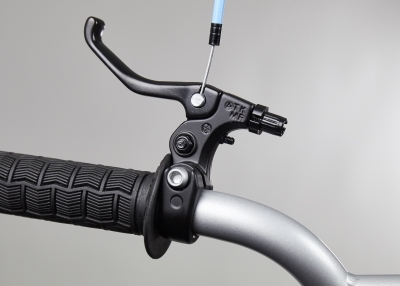
2. Align the three openings by adjusting the cable adjuster, then slide the cable through it.
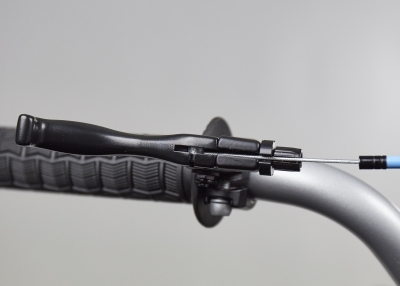
3. Fasten the cable adjuster.
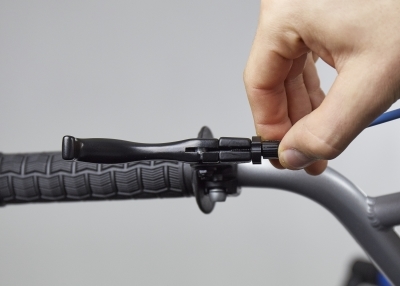
4. Direct the cable's end through the cable guides located beneath the frame, aiming it towards the back of the bike.
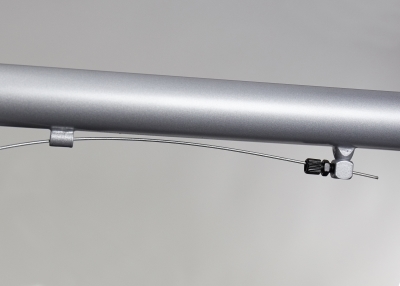
5. Once positioned correctly, the setup beneath the frame should resemble this.
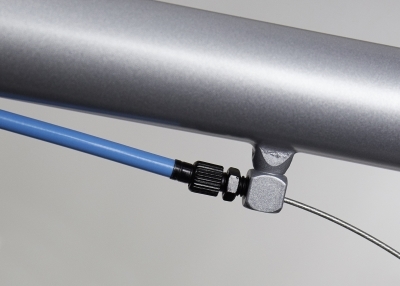
6. Proceed to attach the shorter cable to the top section of the brake arm.
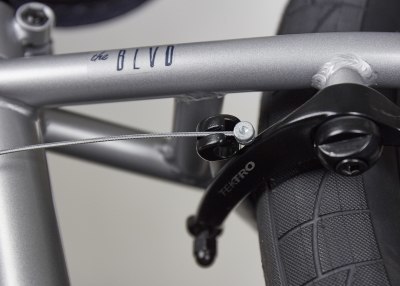
7. Loop the cable around the seat post tube.
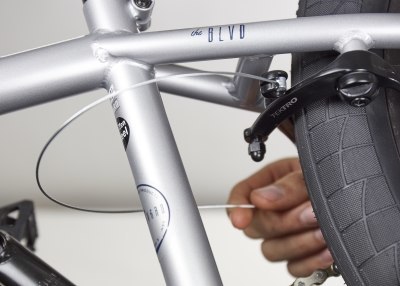
8. The next step is to attach the end of the shorter cable to the bottom brake arm. Feed the cable through the small hole found in the bolt secured on the brake arm.
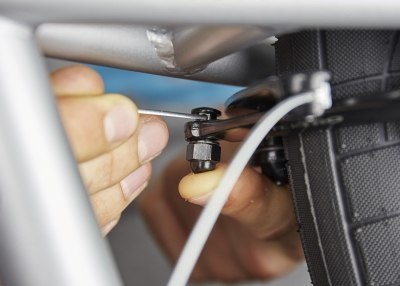
9. Tighten the bolt on the brake arm using a 10mm spanner until the result matches the brake in the accompanying photo below.
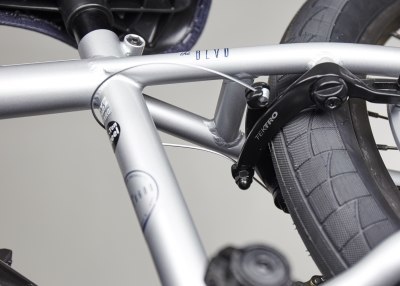
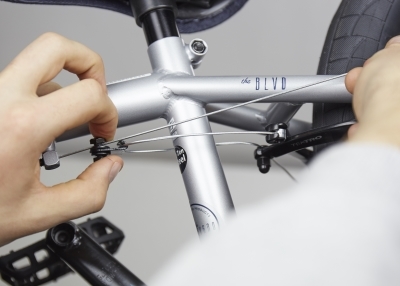
10. It is now time to attach the cable connector to the long cable's end.

11. Firmly tighten the cable and then secure the bolt on the cable connector using a 10mm spanner.
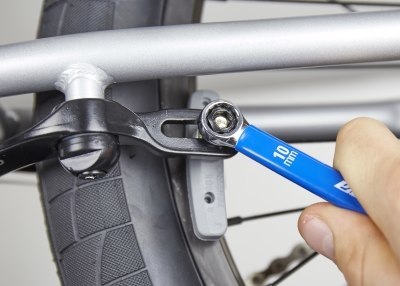
12. Adjust the brake pads so they're positioned correctly on the rim's edge.
13. If there is excessive cable length, trim it to fit properly.
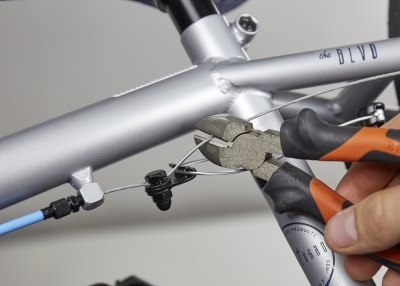
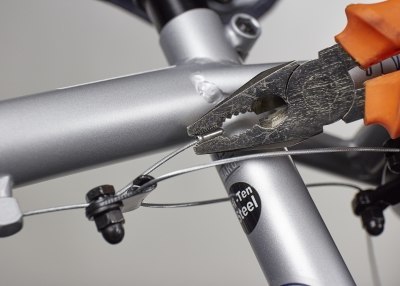
14. Lastly, fit the cable ends and secure them onto both cables using a pair of pliers.
Should you have any further questions about installing your BMX brake, feel free to contact us here.
